
Bricks 4
Introducing the Building
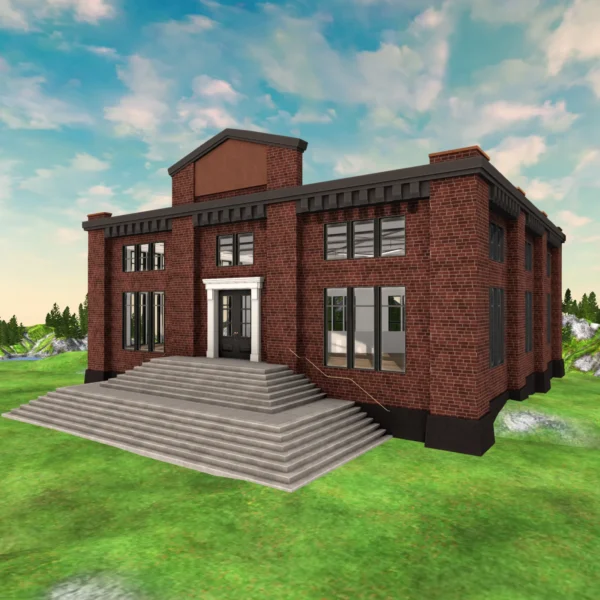
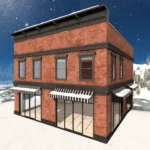
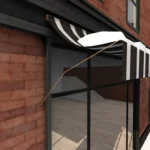
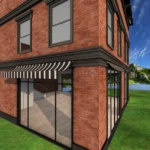
This charming brick structure, adorned with double front entrances and meticulously crafted awnings, is the quintessential setting for a retail space. Its dual doors, opening in unison, extend a warm welcome to every guest, while the expansive shop windows foster an atmosphere of transparency and accessibility.
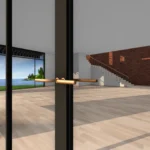
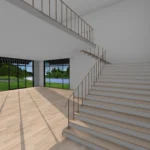
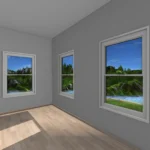
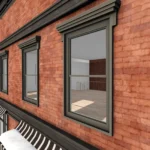
The interior exudes warmth and elegance, highlighted by the luxurious walnut flooring and staircases, complemented by copper rod handrails and walnut accents. The second level features eight windows with copper-toned handles and pristine white frames, seamlessly integrating with the building’s aesthetic.
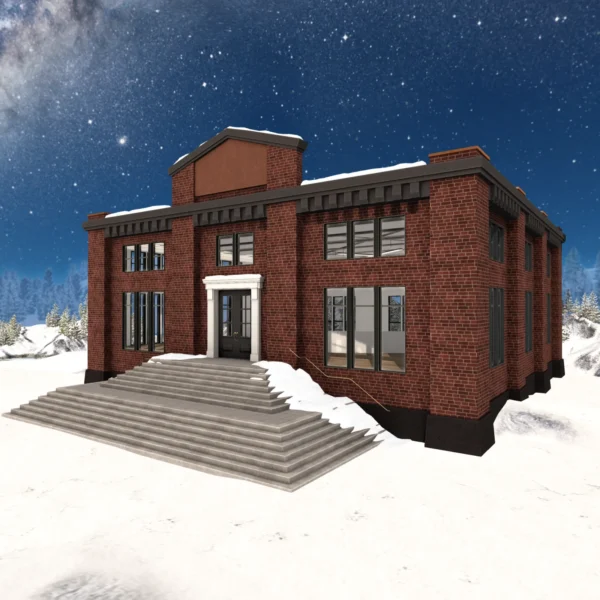
For those snowy seasons, a rooftop switch magically adorns the front eaves and all awnings with a blanket of snow, enhancing the building’s charm.
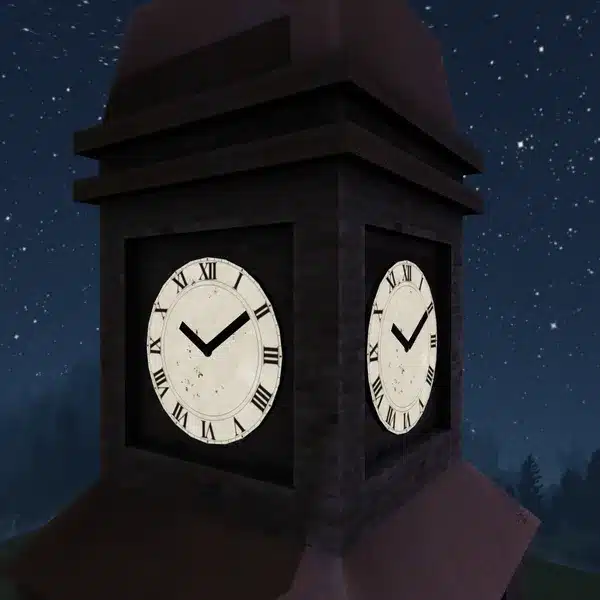
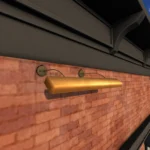
As dusk falls, the two external copper lights illuminate the facade, activated automatically to welcome visitors in the evening hours.
The Switch
Located discreetly behind the roof’s gable, a switch enables the addition of a wintry snowscape, perfect for creating seasonal scenes.
Technical Specifications
Door functionality is enhanced with scripting, allowing the owner to designate access rights (Owner only, Group, or Everyone).
Dimensions are thoughtfully designed with a footprint of 14.5m by 14.5m and a height of 11m, maintaining a land impact of 66.
LOD – Level of Detail
Our commitment to quality ensures that while keeping the Land Impact minimal, the Level of Detail (LOD) remains a priority. Even at medium graphics settings using the standard SL client, our creations are designed to look impeccable from afar, ensuring a visually stunning experience for all visitors.
| Land Impact |
66 |
|---|---|
| Dimensions |
14.5m (Depth) x 14.5m (Width) x 11m (Height) |
| Building Type |
Mesh |
| Textures |
High-quality color textures |
| SKIMI 3D Insider Benefit |
Enjoy an exclusive 20% discount |